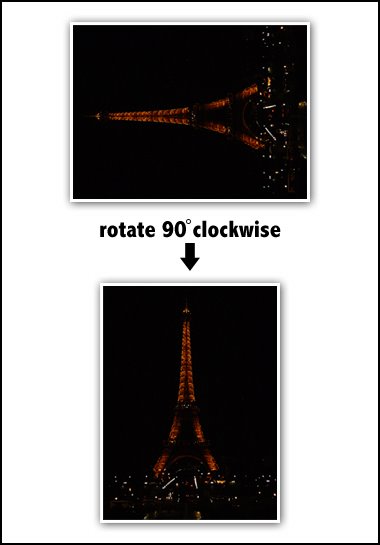
Step 1
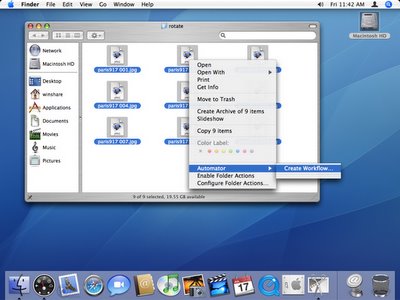
Go to Finder and select all the image files that you would like to rotate (NOTE: in this tutorial, all the files you selected will be rotated towards the same direction/angle). Then, right-click (or ctrl-click if you have a one-button mouse) on any one of the selected images. A menu will appear. Click on Automator >>> Create Workflow. This will launch the Automator assistant.
click to enlarge:
Step 2
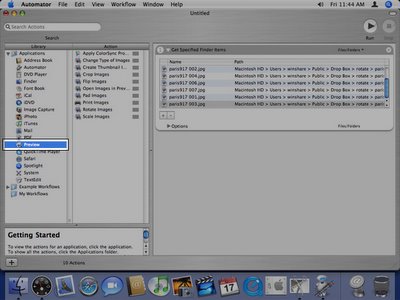
In the Library column to your left, expand the Applications folder and select the Preview application.
click to enlarge:
Step 3
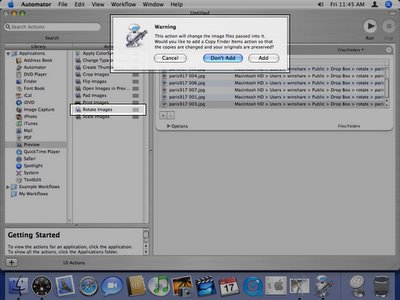
In the Action column beside the Library column, double-click on Rotate Images. You will then be prompted with a message that says: "This action will change the image files passed into it. Would you like to add a Copy Finder Items action so that the copies are changed and your originals are preserved?" If you click on "Add", Automator will create copies of the originals, and rotate those copies so as to preserve the original files. If you click on "Don't Add", Automator will rotate the original image files without creating any copies. You may choose any of the two options. But for this tutorial, we will choose "Don't Add". Choosing "Add" creates an extra step. We will only be rotating the images anyway, so it is not that imperative that we keep copies of the original. But you may choose "Add" if you wish to.
click to enlarge:
Step 4
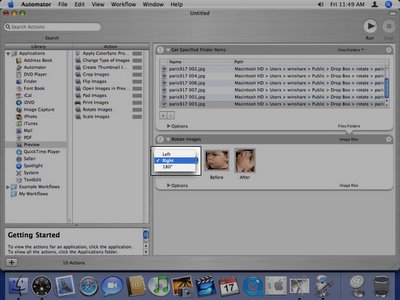
The right side of your Automator window will display the list of actions you've added so far. For this workflow, you should have two actions: (1) Get Specified Finder Items and (2) Rotate Images. In the Rotate Images section, use the drop-down menu to choose which direction you'd like to rotate your images to. You will have three choices: left, right and 180 degrees.
click to enlarge:
Step 5
Click the Run button, which can be found at the top right corner of the Automator window. This gives Automator the go signal to perform the task.
click to enlarge:
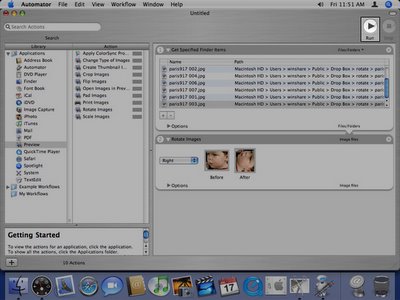
You will have to wait awhile depending on the number of images you chose to rotate. You will see the phrase "Workflow Execution Completed" at the bottom right corner of the window, once Automator finishes the task.
click to enlarge:

I hope you find this useful!

1 comment:
"I hope you find this useful!"
Yes I did! Thanks a bunch!!
Post a Comment